Updated guidance
The right choice starts with your garment, your design and the look you want.
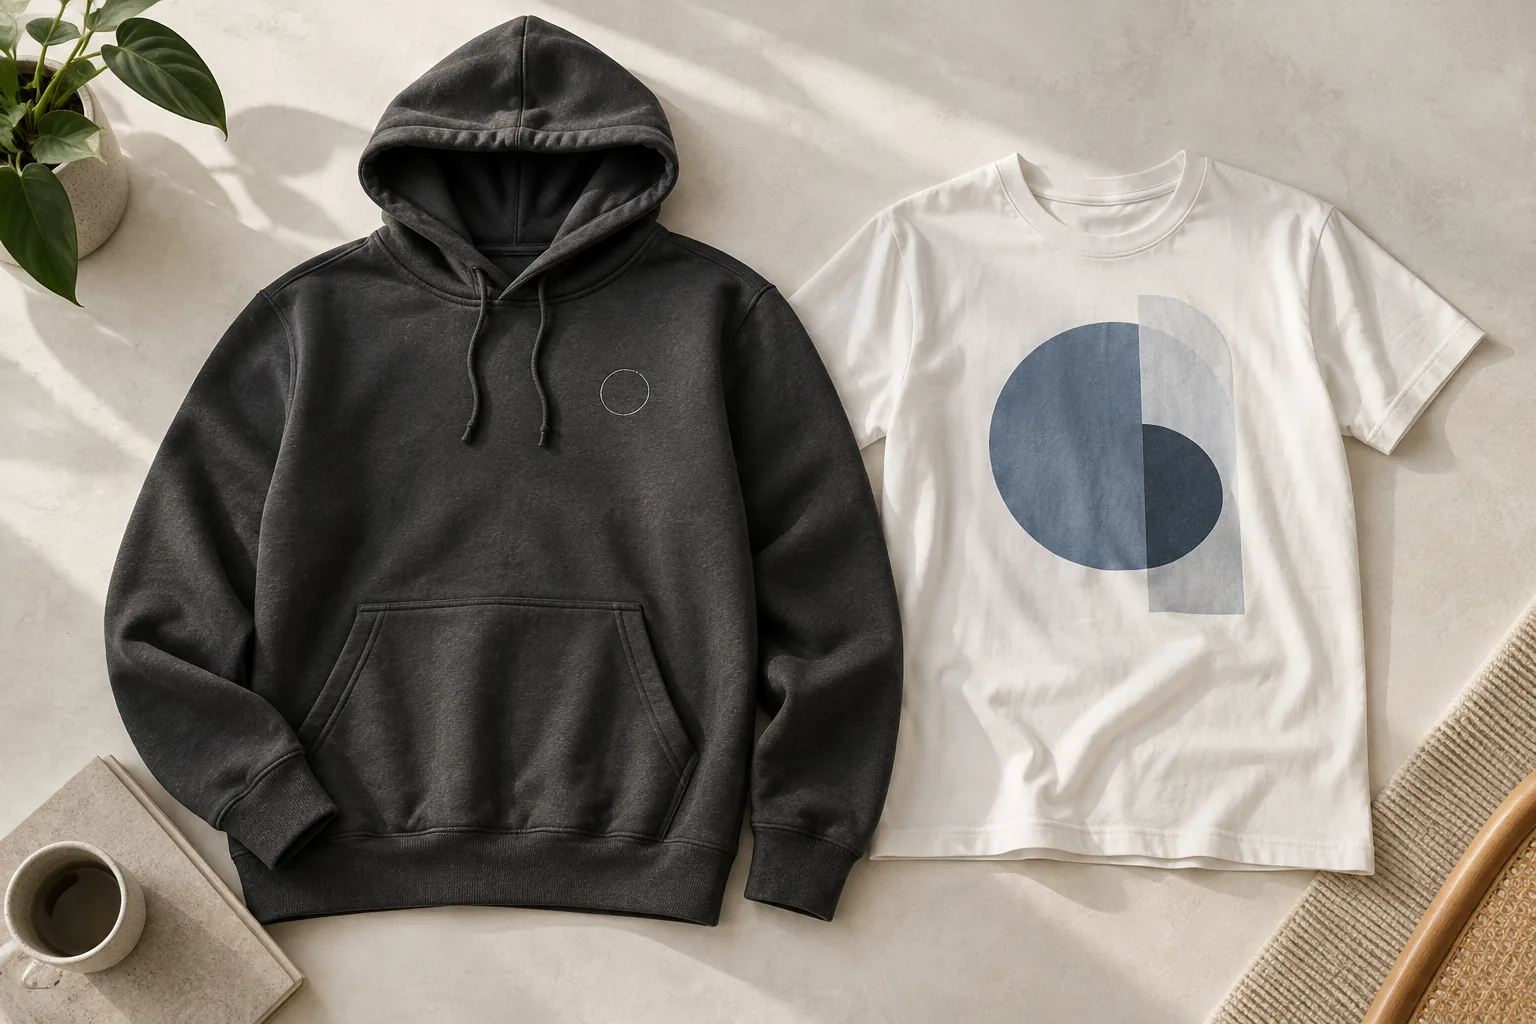
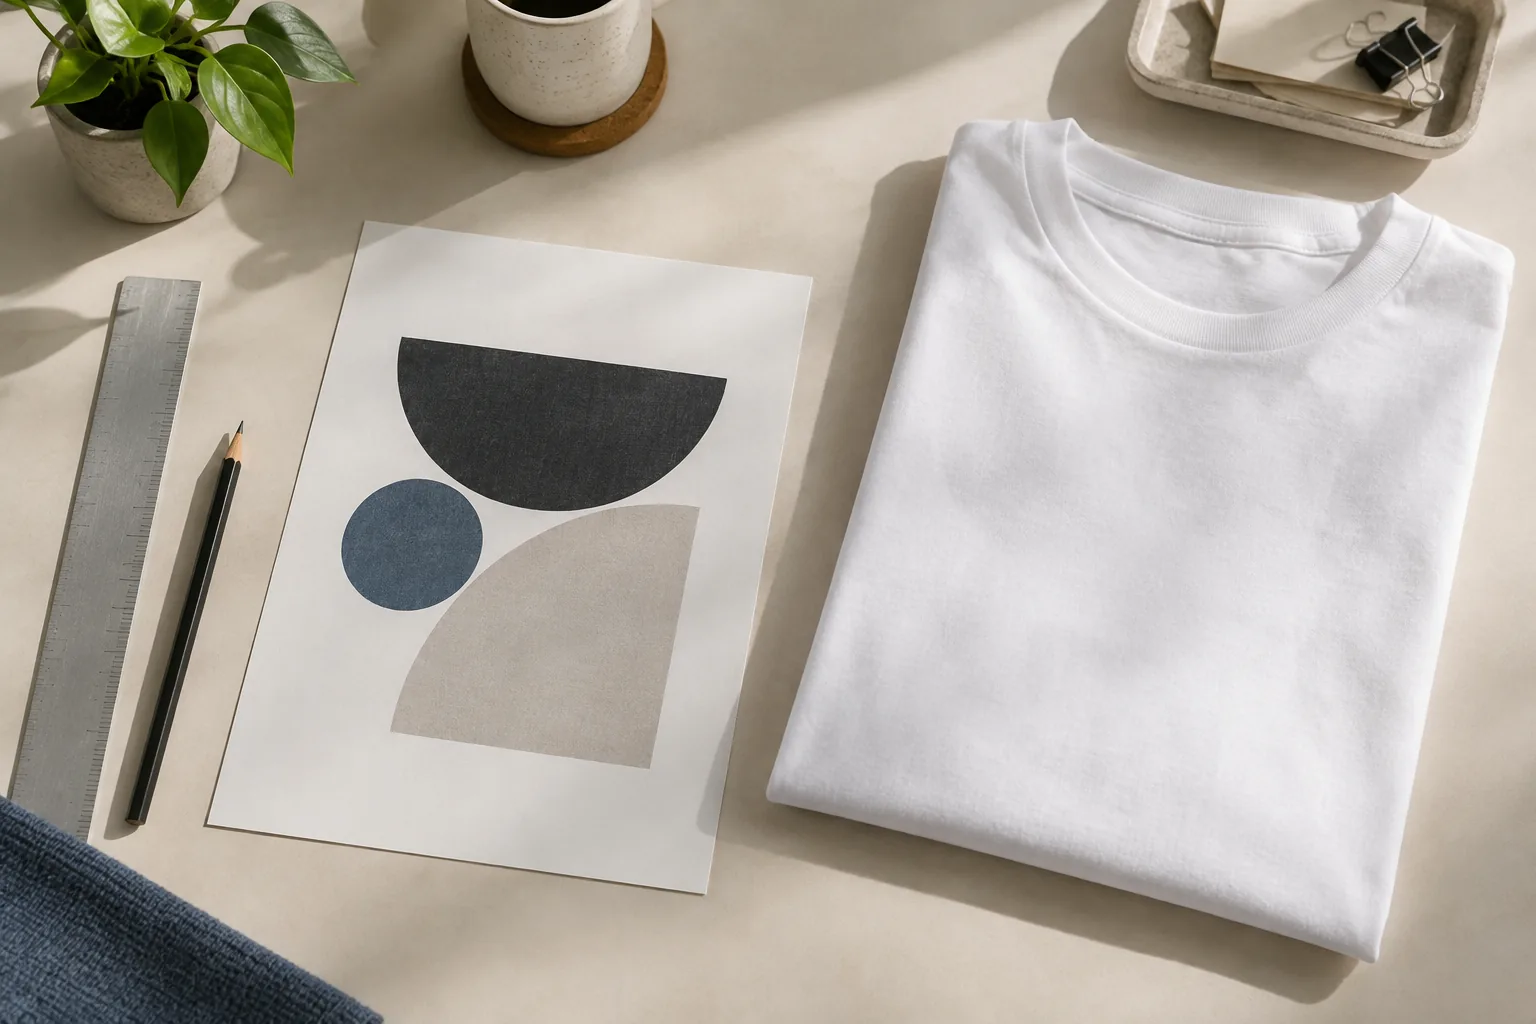
Choosing a finish is easier when you compare the actual design, garment and position together. A small company mark on a polo has different needs from a photographic image across a T-shirt. Start with the result you want people to see and feel, then check whether the artwork and clothing can deliver it.
Start with the design, not a rule about quality
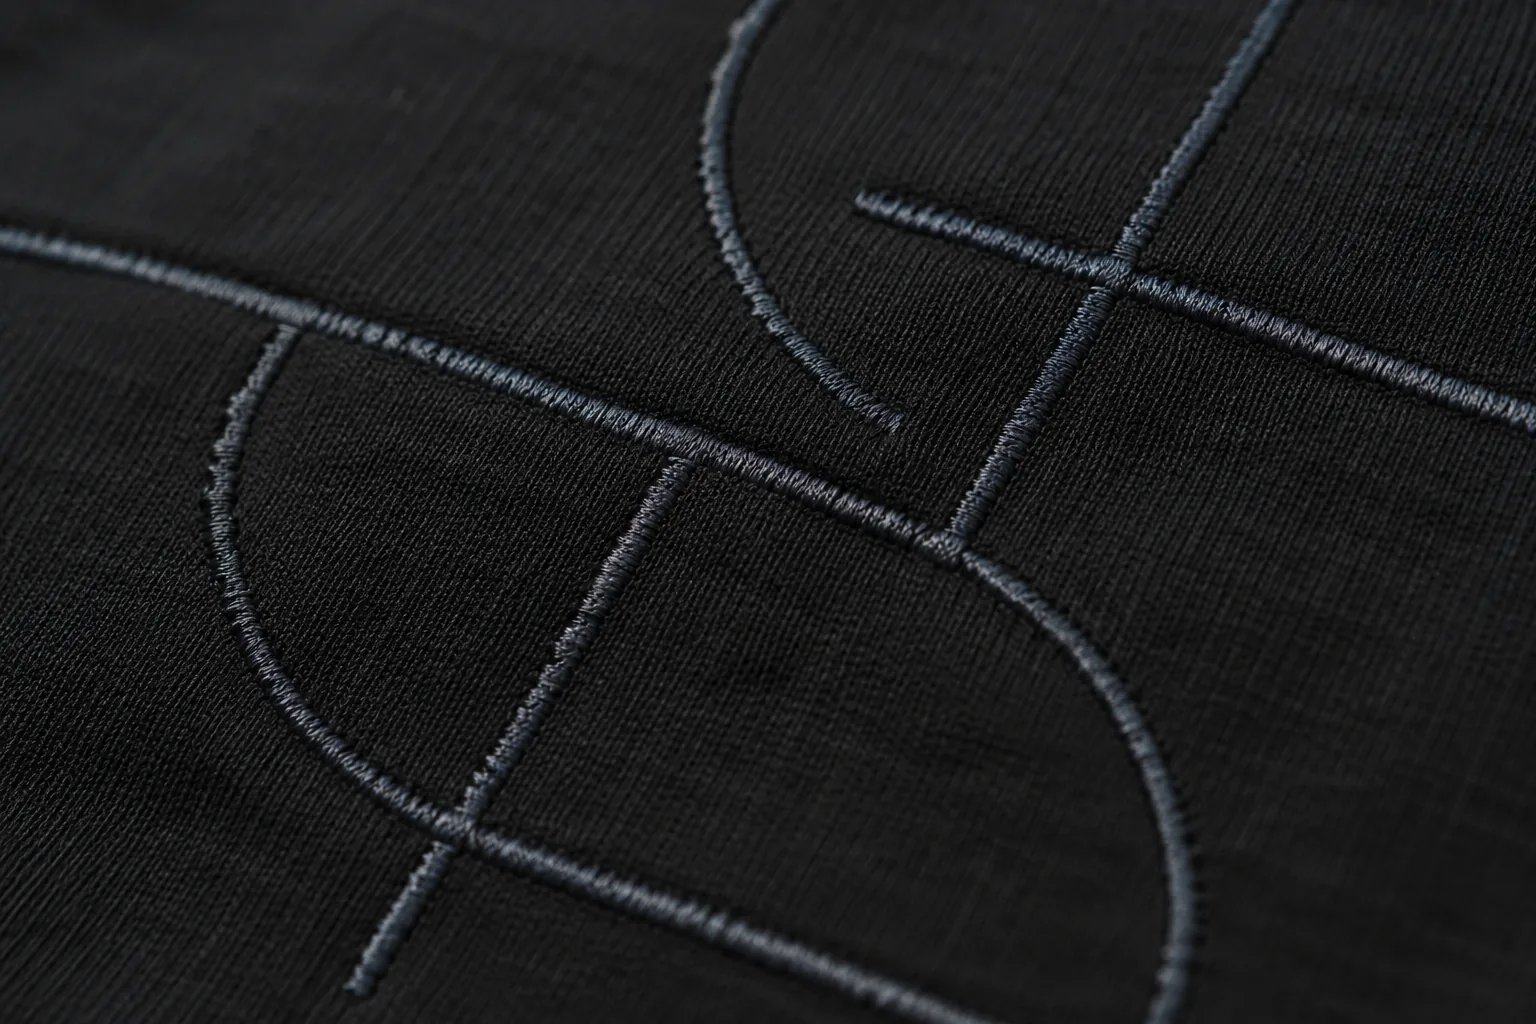
Print applies a design to the garment surface. Embroidery builds it from stitches. Both can produce professional clothing; neither is automatically the premium choice for every job. Print can be a strong starting point for large graphics, colour gradients and detailed illustrations. Embroidery is often considered for a compact mark where a stitched texture is part of the intended look.
The important question is what happens when your particular design reaches its finished size. A logo that looks clear at full-screen size may contain a tagline that becomes difficult to read on a chest position. Look at the small spaces inside letters, fine outlines and the distance between neighbouring details.
Your brief
A useful starting point
What to check
Detailed image or large graphic · Discuss Print · Image quality at the finished size and the garment surface
Compact mark with a stitched texture · Discuss Embroidery · Small lettering, gaps and how the fabric supports the stitches
A uniform with several branding positions · Assess each position separately · Price and approval for every garment/finish combination
Let the garment influence the decision
A fine, lightweight T-shirt and a substantial polo do not provide the same surface. Texture, stretch, seams, pockets, zips and linings can affect both the available position and the production approach. A mockup is useful for composition, but it cannot prove how thread will sit on a particular knit or how a printed area will feel in use.
Give the team the exact garment reference and colour, rather than asking whether a method works on “cotton” in general. Colourways can have different compositions, and two garments described as polos can have different constructions. For protective clothing, the manufacturer’s restrictions and your required protection take priority over a preferred logo location.
A worked example: one business, two finishes
Imagine a maintenance company ordering polos with a small chest logo and sweatshirts with a large identification graphic on the back. It wants a tidy, textured chest mark and readable information at a distance. A useful brief could be embroidery on the polo chest and print on the sweatshirt back. That is a discussion about two distinct positions, not a requirement to use one finish everywhere.
Now add a tiny telephone number beneath the chest logo. Simply shrinking the whole design may make that number unclear in stitches. Possible adjustments include increasing the logo, removing the number from that position or putting the contact details in a larger printed back design. Decide which information needs to be read, then choose the layout that gives it enough space.
Compare the whole order price
Compare the same garment, quantities and positions in both options. A single chest mark and a chest-plus-back design are different specifications, even when the garment is identical. Include artwork preparation, additional positions, individual names and delivery in the comparison.
New embroidery digitising has a separate one-off setup charge; check the current approved price and any reuse eligibility for your order. A changed design or embroidery size can need further setup. Use the current price guide for the actual order and do not assume that a previous order’s unit price applies to a new specification.
What to approve before production
Check the garment colour, artwork version, finish, position and recorded dimensions. Review any proposed simplification at its intended size. For a result where feel, texture or a close match to existing clothing is crucial, discuss a decorated sample; a digital proof is not a physical test.
Send the original artwork and exact garment reference.
State the finished width and preferred position.
Identify lettering or brand details that cannot change.
Confirm every additional design, name and position.
Review the current proof and complete price before approving.
Choose a finished appearance, check it against the garment and artwork, and use the Print or Embroidery guide to turn that choice into a complete order specification.
Your next step
Find more help or ask the Colour Apparel team.
Compare Print and EmbroideryNeed a little more help?
Continue with the Guide or go straight to the team.