The most useful artwork file is usually the original from the designer, not the version saved from a website or messaging app. Before spending time changing file extensions, check what the file actually contains and how large the design needs to appear. These checks prevent many avoidable artwork problems.
Understand vector and pixel artwork
Vector artwork describes shapes and paths that can normally be resized without turning those shapes into visible pixels. Pixel artwork is made from a fixed grid of picture information. Both can be useful, but they need different checks at the proposed finished size.
A PDF is a container and may hold either kind of content. An SVG or EPS can also contain embedded pixel images. Renaming a JPEG as a PDF, or placing it inside a vector document, does not recreate the missing detail. Ask your designer for the original production artwork rather than relying on the extension alone.
A worked example: pixels at the finished size
Suppose a picture is 2,400 pixels wide and you want it printed 30 cm wide. Thirty centimetres is approximately 11.81 inches, so the effective resolution is about 203 pixels per inch: 2,400 divided by 11.81. A 900-pixel version at the same width contains only about 76 pixels per inch.
These figures explain why the smaller file can look less clear when enlarged; they are not Colour Apparel acceptance thresholds. Suitability also depends on the artwork, viewing distance and production process. Changing the resolution number in an image editor without adding genuine detail does not repair blurred edges or unreadable lettering.
Check transparency and white areas deliberately
A white rectangle may be part of the uploaded image rather than a background automatically added by the preview. Conversely, white letters or illustration details may be intentional parts of the design. Removing every white pixel can damage a logo that needs white elements on a dark garment.
Inspect the file against both a light and dark background. Decide which areas should be transparent and which should print as white. If you are unsure, send the original artwork and explain the intended appearance. A photograph of an existing print can help explain the target, but it should not replace the original production file.
Prepare text and brand information
Check spelling, names and numbers before upload. If your artwork uses fonts, ask your designer for a production-ready version with the required font information handled appropriately, while keeping an editable original for future changes. Do not rebuild a wordmark using a visually similar font unless you have approved that change.
For colour-critical work, provide the relevant brand-colour reference and tell the team what needs to match. Screens, photographs and fabrics can display colour differently. A sampled colour from a screenshot is not the same as a confirmed physical match.
Know what the artwork check can do
Send artwork through Colour Apparel Studio for a free suitability check, including before ordering. Follow the accepted file formats and size limit shown in its upload form. Acceptance by an upload control means that the file was received, not that every element is ready for production.
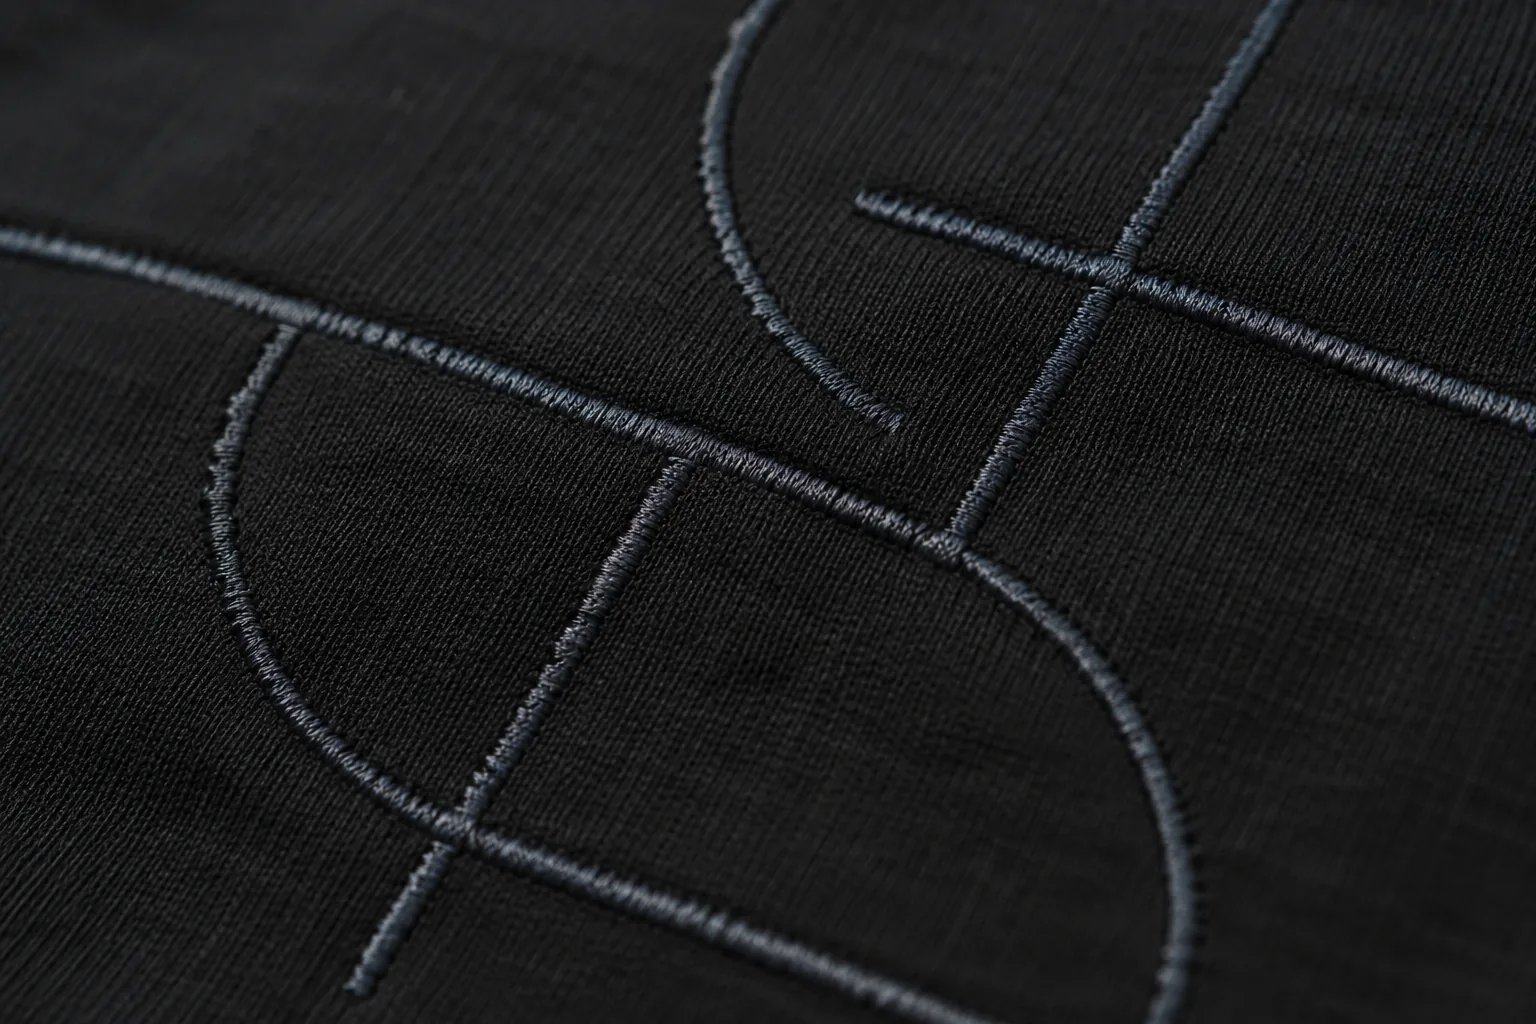
Redrawing or rebuilding is quoted and approved before work begins. Embroidery digitising is a separate setup process and charge. Send the intended garment, position and finished dimensions with the artwork, so the assessment relates to the item you actually want.
- Use the cleanest original file available.
- Check clarity at the intended size.
- Identify transparent and intentional white areas.
- Confirm spelling, artwork version and colour requirements.
- Review the current proof before approving production.
Your next step
Gather the original artwork, garment reference, position and target dimensions, then use the artwork guide or send the files for a suitability check.
Check artwork requirementsSources and further reading
Product guidance is specific to the supplier or process. Colour Apparel service details are confirmed in the linked Help guides.
Need a little more help?
Continue with the Guide or go straight to the team.