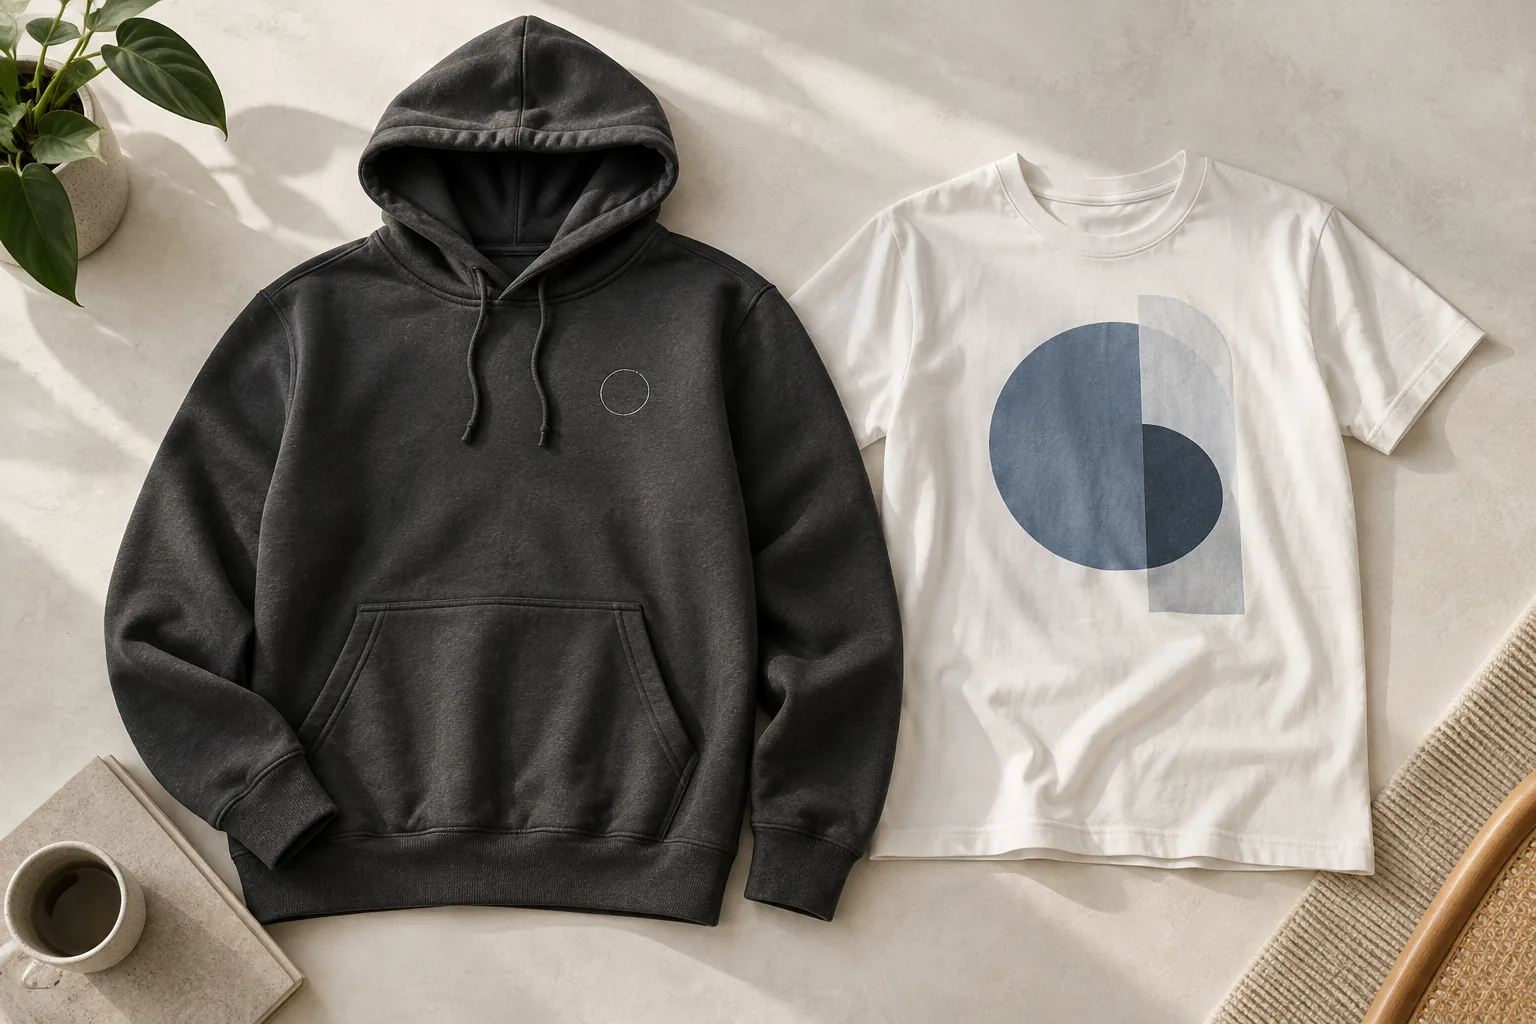
A logo can be centred correctly and still feel wrong because it is too wide, too low or visually unbalanced. Good placement comes from checking the design’s shape against the actual garment. Use the preview to explore, then use recorded dimensions and the agreed proof to make the choice precise.
Start with the visible design
The outer edge of a file is not always the outer edge of its artwork. A logo may sit inside a large transparent canvas or a white rectangle. This can make an apparently large file produce a surprisingly small visible mark, or make alignment look inconsistent.
Check where the visible artwork begins and ends. Tell the team if an empty area is intentional. Do not remove white elements that are part of the design simply because the garment is white in one preview; those elements may need to remain visible on another colour.
Use dimensions, not your screen as a ruler
The size of a preview depends on your device and zoom level. Read the recorded finished width and height, and keep the artwork in proportion unless the design was specifically created to stretch. A wide wordmark and a square emblem at the same width occupy very different visual areas.
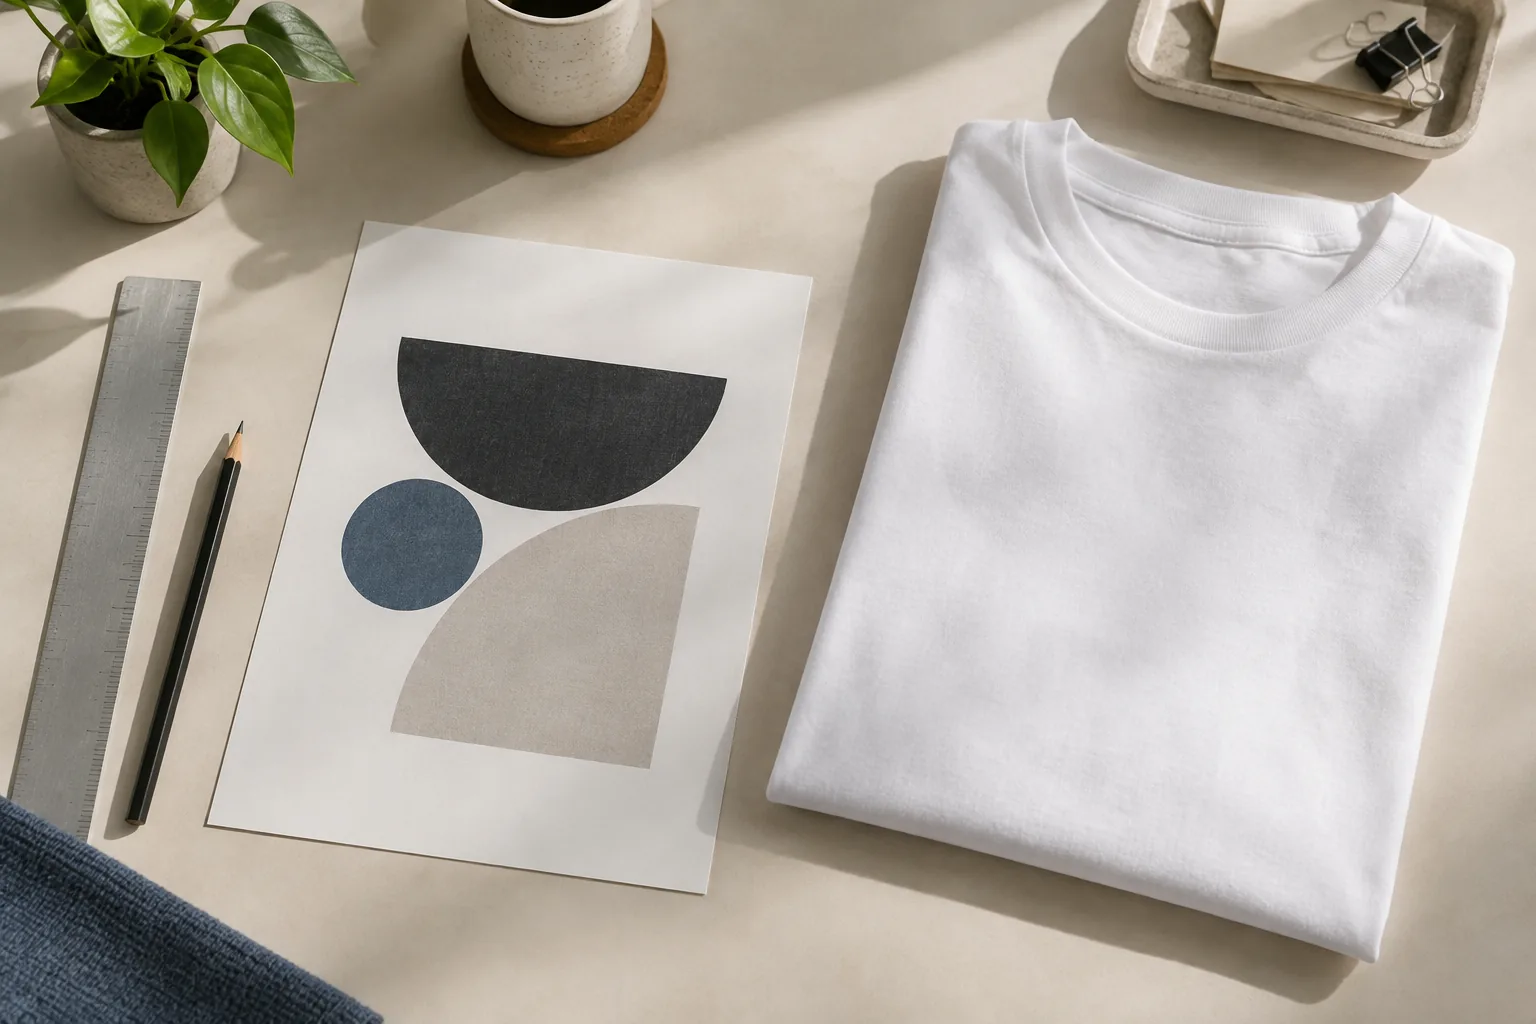
For a simple sense of scale, cut a piece of paper to the proposed dimensions and place it on a garment of the same style. This is an informal visual check, not a production template. It helps you judge the relationship between the mark, collar, pocket and overall garment shape.
Know whose left you mean
Left chest means the wearer’s left. When you look at the front of the garment, that appears on your right. Sleeve names follow the same wearer-based convention. Use the labelled garment views and describe any unusual requirement in words.
Check all positions separately: chest, front, back and sleeves do not share the same usable area. Seams, pockets, zips, hoods and garment construction can reduce available space. A back design that looks clear on a T-shirt may be partly obscured by a hoodie’s hood when worn.
A worked example: two logos, the same width
Imagine a long company name and a compact circular emblem, both proposed at the same finished width. The company name may be shallow, with a small tagline beneath it; the emblem may fill almost a square. They will not have the same visual weight even though the width number matches.
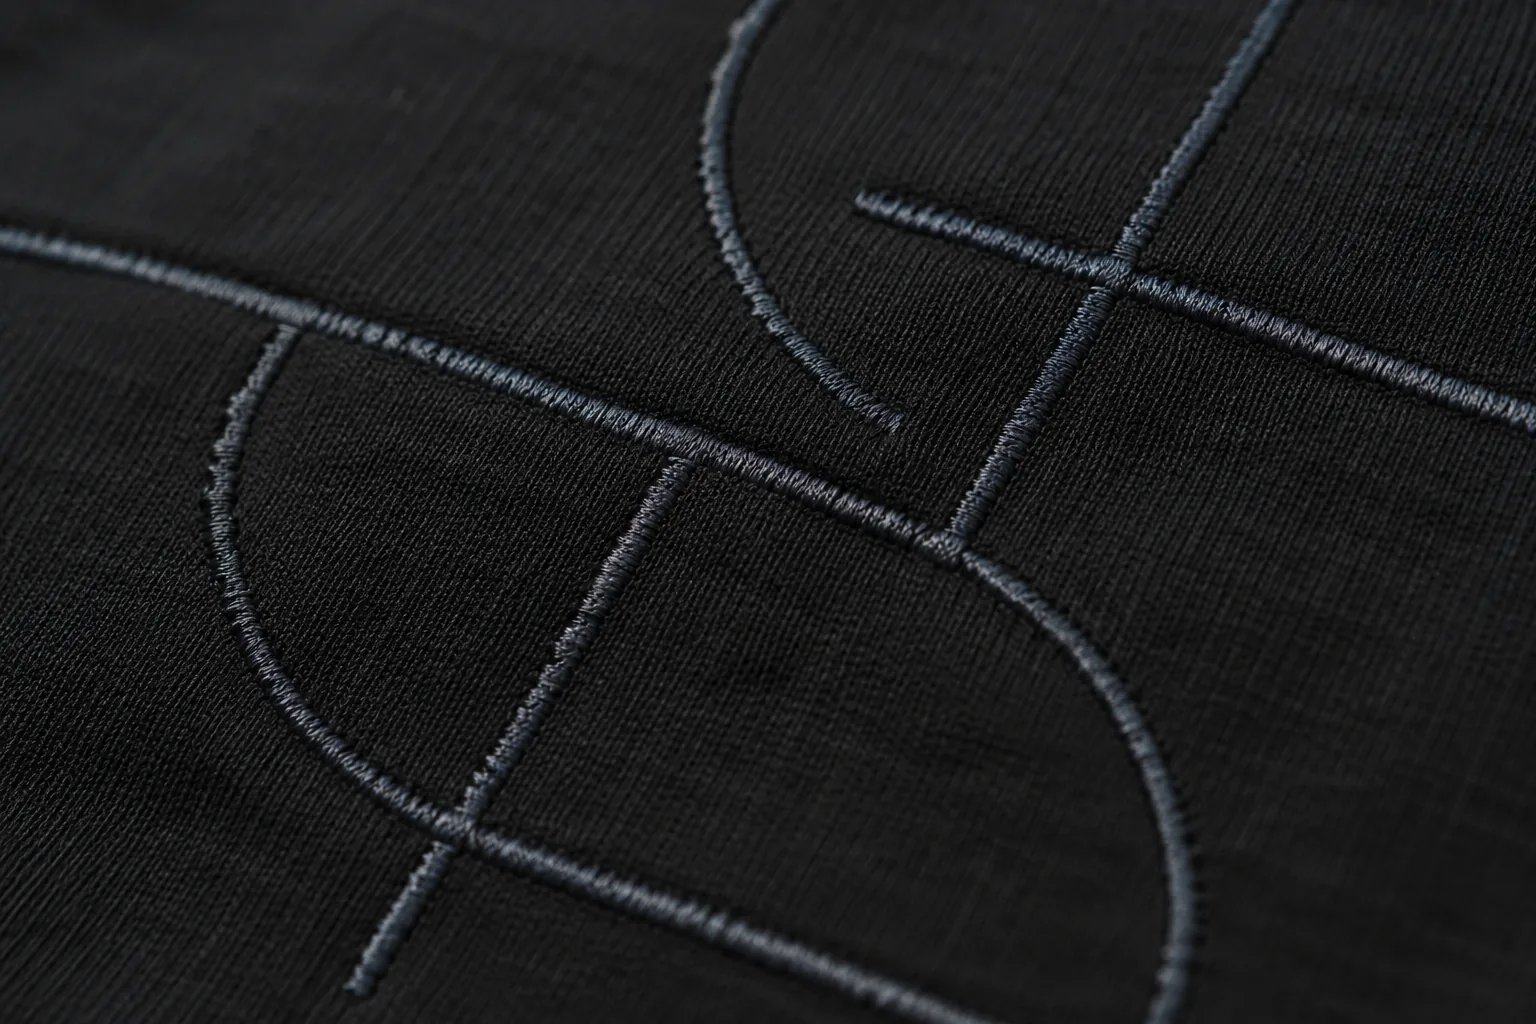
Instead of enlarging everything until the tagline is readable, decide whether the tagline belongs in that position. It may work better in a separate larger back design. For embroidery, also ask whether the small gaps and lettering remain clear at the proposed size. The right adjustment depends on the design and fabric, not on one universal chest-logo dimension.
Check the complete size range and proof
Look at the smallest and largest garment styles in the order. If the same design is used on adult and smaller garments, confirm whether a single artwork size is appropriate. If you request different sizes, make the allocation explicit so each garment receives the intended version.
For a reorder, supply the earlier reference and say exactly what needs to match: garment, logo size, distance from a feature or overall appearance. A photograph of existing clothing can help explain the target, but use the original artwork as the production source.
- Check visible artwork boundaries and intended white areas.
- Confirm the wearer-based position.
- Read the finished width and height.
- Inspect seams, pockets, hoods and the full size range.
- Approve the correct artwork version for every position.
Your next step
Use the placement guide and four-view explorer to define the position, then confirm the dimensions in the current proof before approval.
Check logo positioningNeed a little more help?
Continue with the Guide or go straight to the team.