
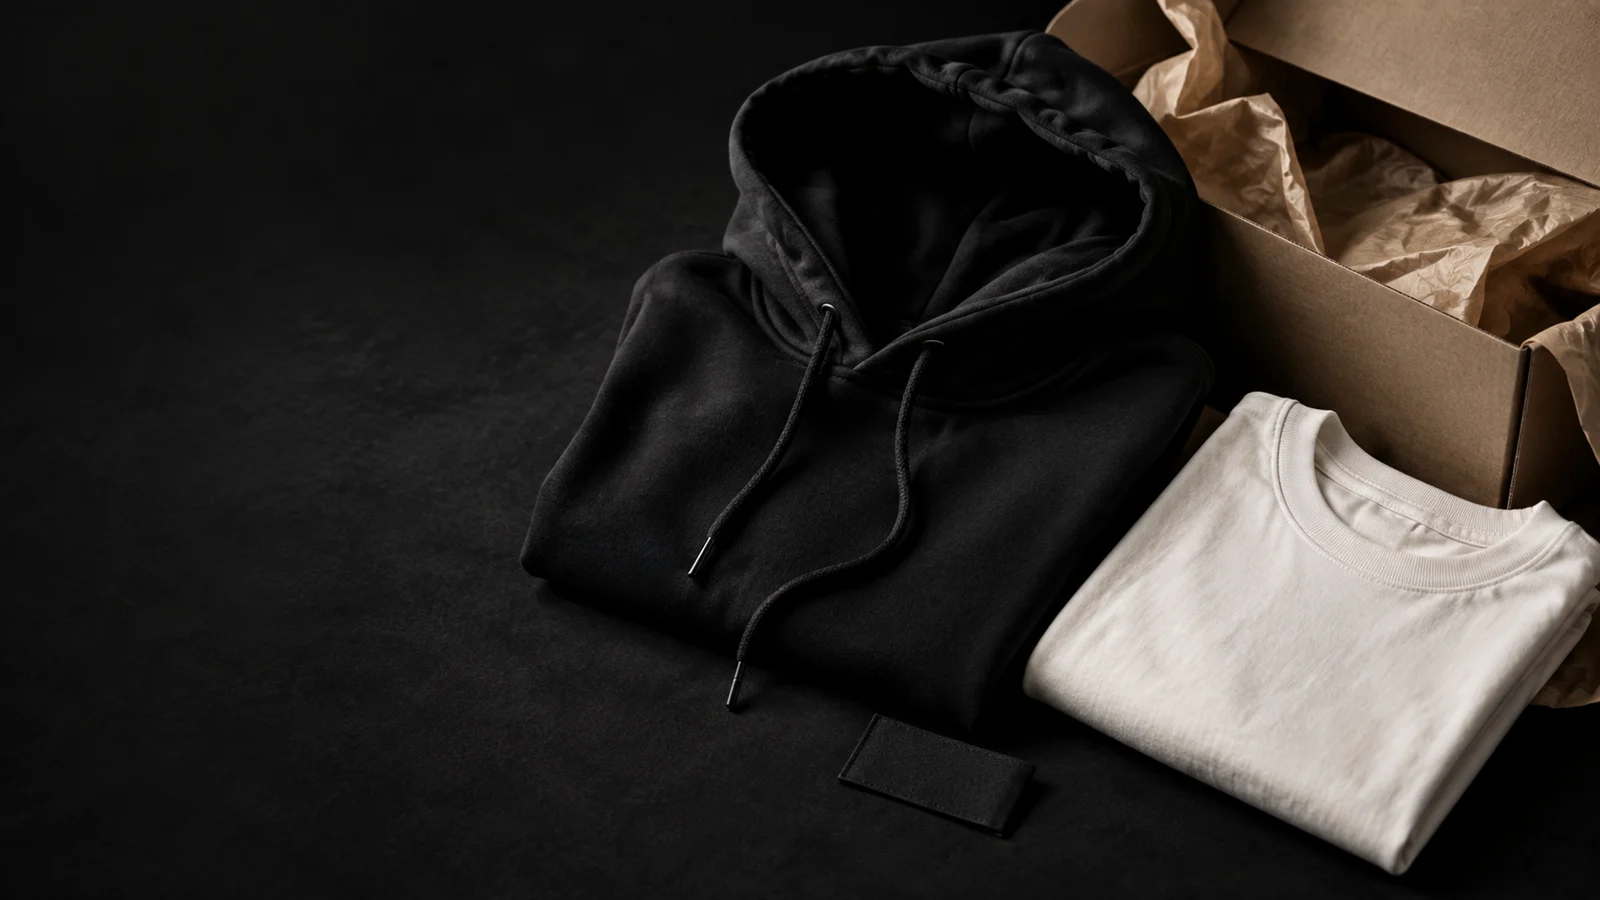
White-label fulfilment has to work all the way from your product page to your customer opening the parcel. A store connection is only one part of that journey. Before launching, agree what is produced, how it is presented, which events update the order and who handles a problem. The details below help you write a service brief you can actually test.
Define what white label means for your brand
The phrase does not specify every packaging or labelling feature. Neutral outer packaging, an own-brand neck label, a printed insert and a branded shipping message are separate requirements. A plain parcel does not necessarily mean the original garment label has been removed, and a branded product does not automatically include custom packaging.
Write down the customer experience you intend to offer. Ask the fulfilment team which elements are included in your agreement, which are optional and which are not supported. Confirm costs, preparation requirements and how changes will be managed before advertising a feature.
| Part of the experience | What to confirm |
|---|---|
| The garment | Exact style, colour, size and artwork mapping |
| The parcel | Outer packaging, paperwork and any supported inserts |
| Labels | Original garment information and any agreed relabelling |
| Notifications | Who sends order, dispatch and tracking messages |
| Customer support | Who receives the enquiry and who investigates it |
Make product and variant mapping unambiguous
Each storefront variant needs to point to the intended garment and specification. A size name on its own is not sufficient: the product, colour and size together identify what should be supplied. If a product has more than one design or placement, those choices also need to be represented in the agreed setup.
Test the less obvious variants as well as the default one. A medium black T-shirt may be mapped correctly while the navy version points to a different style, or an unavailable size may still be offered in your shop. Review changes when you add a colour, replace a garment or update artwork.
Run a complete test order
Use the agreed test process to place an order through the actual storefront. Check that the correct items and addresses arrive in fulfilment, that the expected payment or account conditions are met and that the resulting garment matches the order specification.
Inspect the parcel as a customer would. Check the garment, decoration, size labels, paperwork, presentation and any branding that appears. Then review the confirmation and tracking experience. A successful connection screen does not establish that the parcel presentation or customer emails are correct.
- Order a representative product and a non-default variant.
- Check the source order and linked fulfilment reference.
- Inspect the finished product and parcel.
- Check dispatch and tracking messages for wording and branding.
- Record any correction and retest the affected step.
Plan for an order that cannot proceed normally
Agree what happens when a garment becomes unavailable, a payment fails or an address needs correcting. Decide who contacts the customer and how the production team receives the confirmed decision. Do not create a replacement order simply because an update is delayed; first check the original order and linked reference to avoid duplicate production.
For a return or a possible fault, keep the customer-facing policy aligned with your agreement and applicable rights. A personalised item reported as faulty needs a different assessment from a correctly made item that the customer no longer wants. Ask for evidence and confirmed instructions before promising a particular remedy.
Keep your store promises within the agreed service
Describe production time and carrier delivery separately. State only the destinations, packaging features and delivery services confirmed for your setup. If you want to add a country, insert or relabelling option, review its practical requirements before switching it on in the store.
Keep a short launch record covering the agreed specification, test-order reference, exceptions process and support contacts. Revisit it when the range or fulfilment arrangement changes. That record is more useful than relying on a general statement that the service is “fully white label”.
Your next step
Use the white-label checklist to agree the service, then test the whole customer journey before opening it to orders. The current fulfilment guides explain each operational step.
Explore brand fulfilmentPut this guide to work
Use these planning documents to prepare your details. They do not submit an order or create a store.
Fulfilment readiness checklist (CSV)Need a little more help?
Continue with the Guide or go straight to the team.